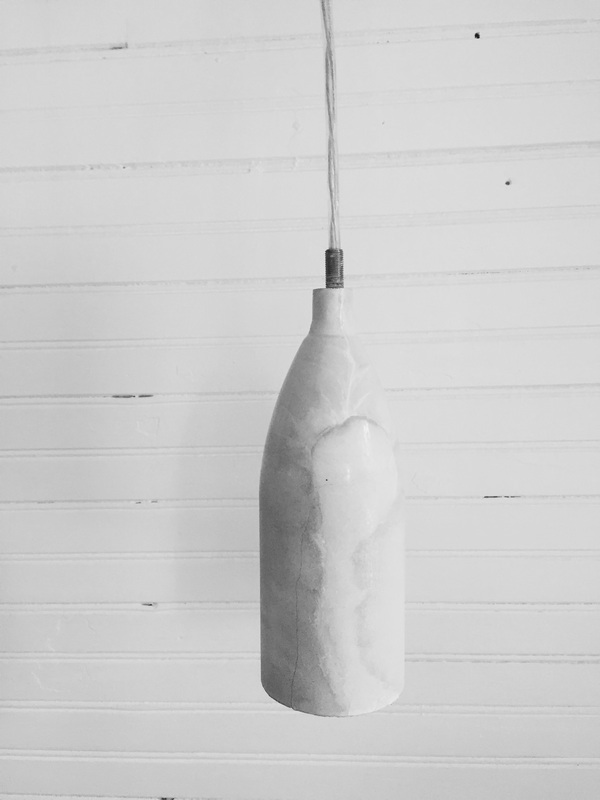
This concrete pendant has a dreamy marble appearance. You can see there is a crack in it, but this didn't compromise the integrity of the piece, as I can't see it when I turn the light on.
I got my idea from Homemade Modern. #istalkben
I got my idea from Homemade Modern. #istalkben
Supplies List
1. Light socket
2. electrical wire
3. top plate/ceiling plate
4. plastic bottle with another smaller plastic bottle inside
5. concrete
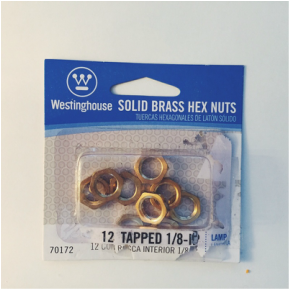
6. Hex Nuts and couple of screws
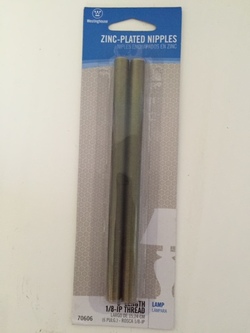
7. zinc-plated nipple
8. mixing bowl with wooden stir
1. Light socket
2. electrical wire
3. top plate/ceiling plate
4. plastic bottle with another smaller plastic bottle inside
5. concrete
6. Hex Nuts and couple of screws
7. zinc-plated nipple
8. mixing bowl with wooden stir
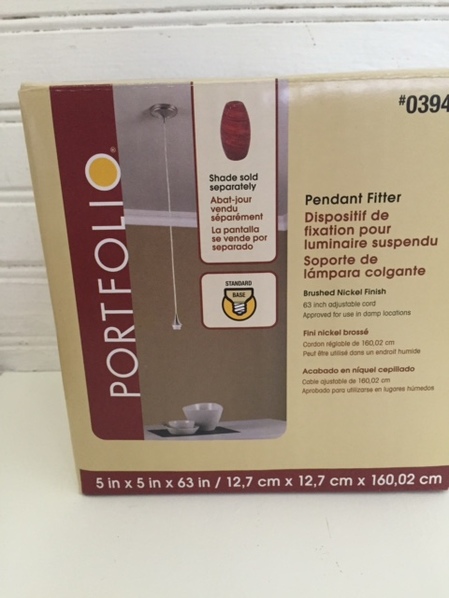
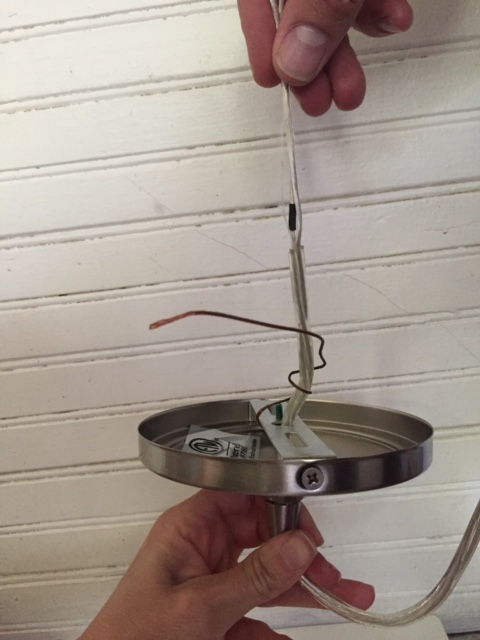
I live in Memphis TN and my ability to get my hands on the supplies Ben used are not always available. So, I got this boxed light set from Lowes, ($16) then unassembled it until it was a light socket on a wire.
 |  |  |  |
Gathering the bits + pieces
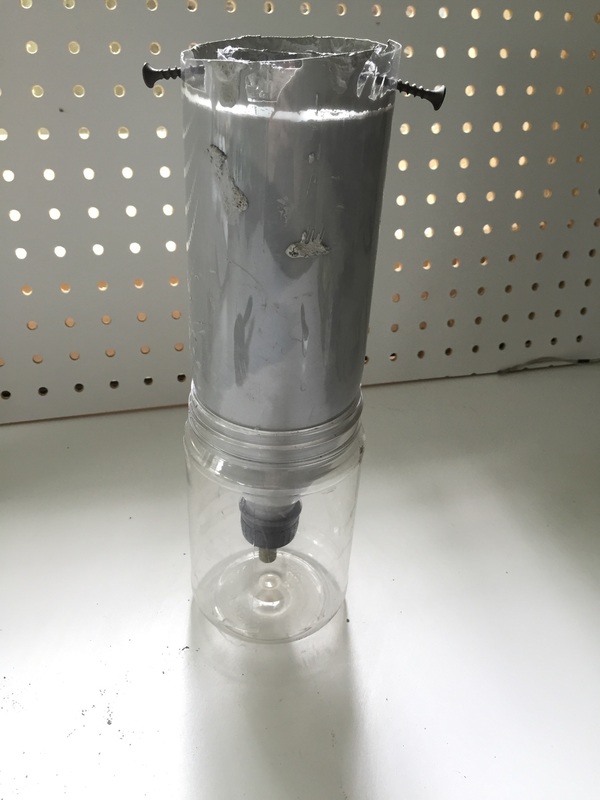
Next, I needed to assemble the plastic bottles. This called for these other items, namely, the zinc-plated nipples and the hex nuts.
 |  |  |
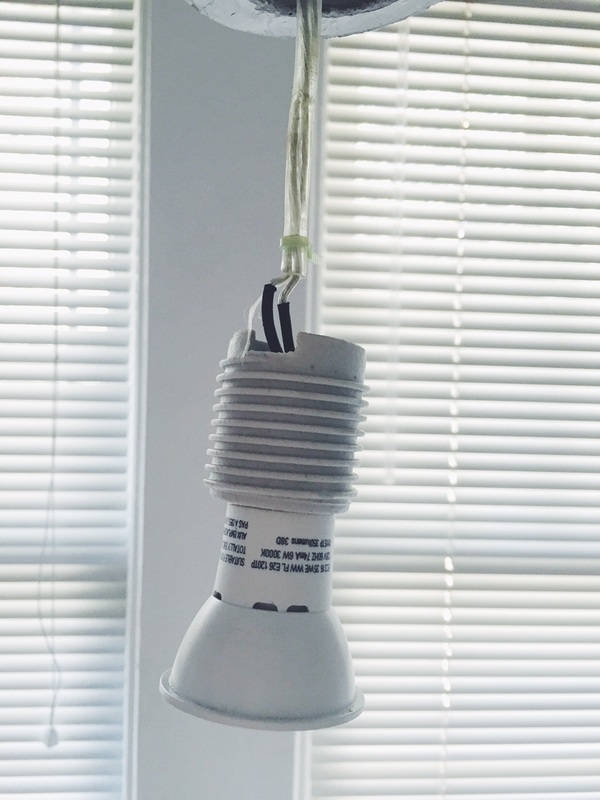
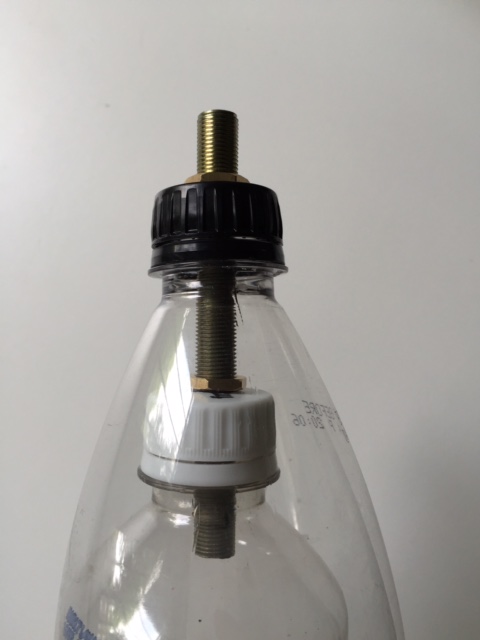
Once I had my plastic bottle set up, I then needed to take this into the store and try to find bulb that would fit inside the plastic bottles. Also, the nipple needed to be trimmed so that the light bulb won't show out of the bottom of my inside plastic bottle. I put my bottles together with my light socket with bulb inserted to make sure this worked.
Next, you may need to reposition your hex nuts so that the two plastic bottles are separated enough for concrete to fill the void between the bottles, and the light bulb doesn't stick out the bottom.
Notice how my metal nipple shows out the top of the finished pendant. You could lower or extend this to your liking.
 |  |  |
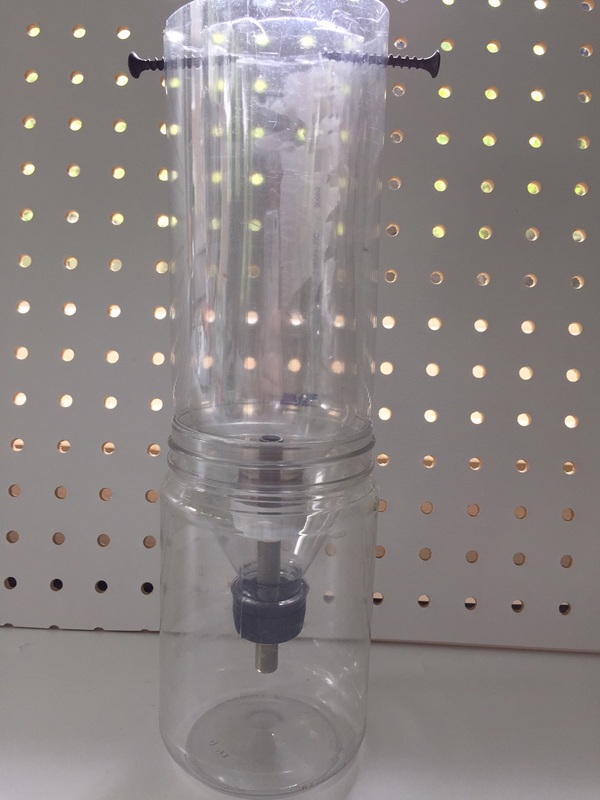
After you have your mold and light picked out, then you can begin your concrete mix. You can use basic or top of the line mixes, this is up to you. Place the mold into another container so that it stands upright, and add a screw on either side so that the void stays open while you get the concrete inside. Add enough water to concrete mixture so that you can pour the concrete into the mold. Careful not to get any concrete inside the inner plastic bottle. If you do maybe add some extra water to keep it from settling.
 |  |  |
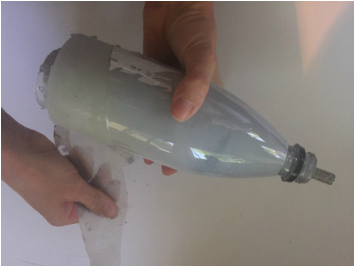 | 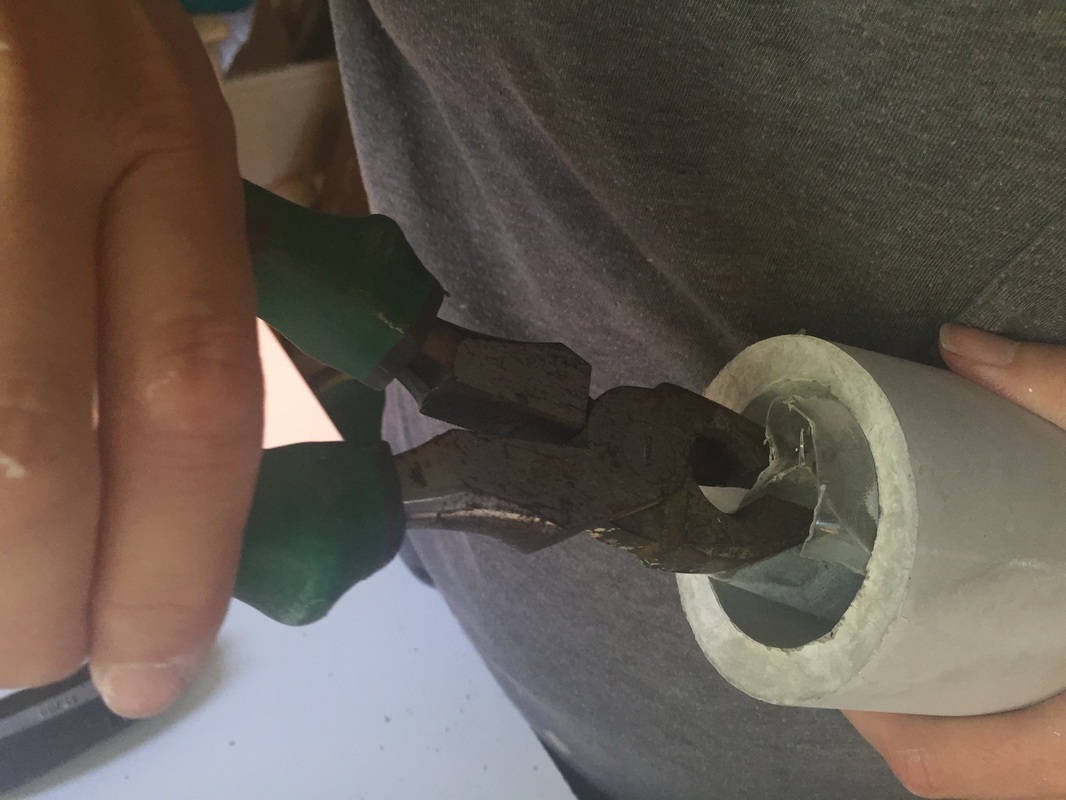 |
Wait 24 hours for curing. You should be able to just peel off the outer bottle and take off the lid. The inner bottle proved a little more difficult for me. I am sure I got concrete inside my inner bottle.
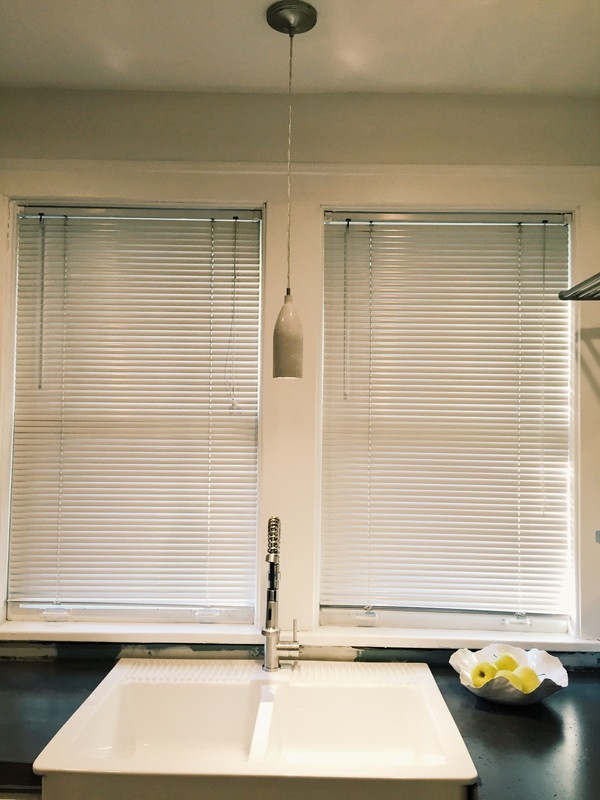
This is how my light looks over my sink.
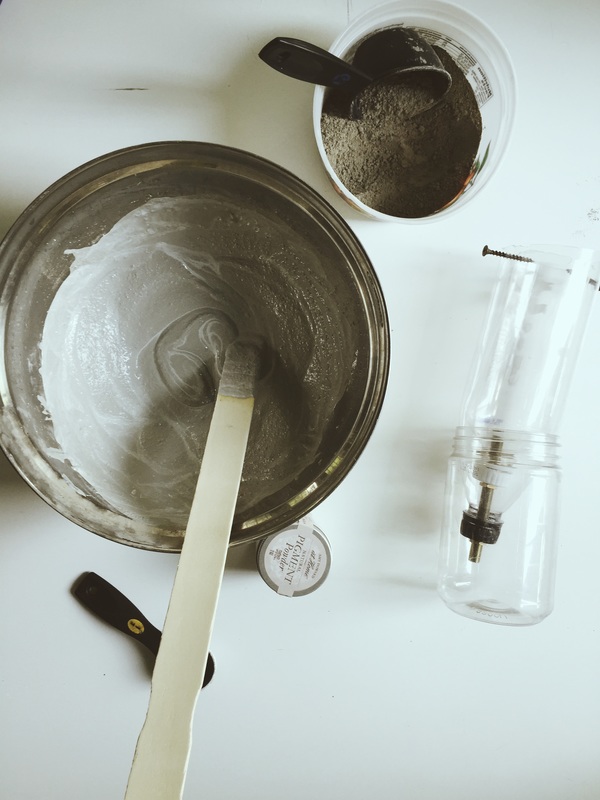
Concrete Marbling Effect:
Check out my other post on Dreamy Concrete Props for more on adding color to your concrete mixture.
I have worked with cement quite a bit. The powdered pigments aren't cheap. It may be possible to use White Portland Cement and readily available Ash Grove Portland Cement to get a similar dreamy color mixture.
I have worked with cement quite a bit. The powdered pigments aren't cheap. It may be possible to use White Portland Cement and readily available Ash Grove Portland Cement to get a similar dreamy color mixture.

 RSS Feed
